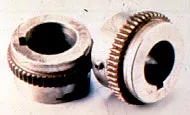
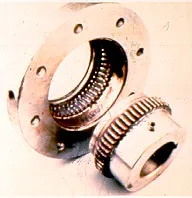
Shaft couplings are critical parts of any power transmission system, providing the smooth transfer of power from one component to another. As with any other part of the system, maintenance maximizes coupling life and ensures reliable system operations.
Coupling maintenance is generally a simple matter, requiring a regularly scheduled inspection of each coupling. It consists of:
- Performing visual inspections, checking for signs of wear or fatigue, and cleaning couplings regularly.
- Checking and changing lubricant regularly if the coupling is lubricated. This maintenance is required annually for most couplings and more frequently for couplings in adverse environments or in demanding operating conditions.
- Documenting the maintenance performed on each coupling, along with the date.
In most cases, these maintenance steps should be sufficient to keep couplings working smoothly and to enable them to reach their full service life. Even with proper maintenance, however, couplings can fail. Underlying reasons for failure, other than maintenance, include:
- Improper installation
- Poor coupling selection
- Operation beyond design capabilities
Telltale signs of failure
The only way to improve coupling life is to understand what caused the failure and to correct it prior to installing a new coupling. Every failed coupling provides some evidence about what caused the failure. Some failures can be seen readily, while others require some investigation.
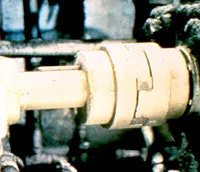
Some external signs that indicate potential coupling failure include:
- Abnormal noise, such as screeching, squealing or chattering
- Excessive vibration or wobble
- Failed seals indicated by lubricant leakage or contamination
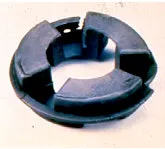
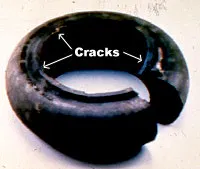
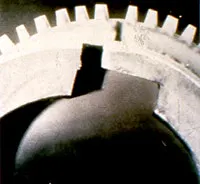
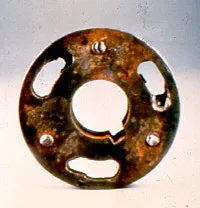
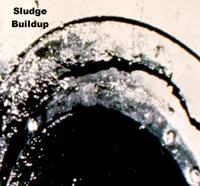
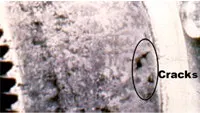
In addition, examination of damaged parts helps provide an explanation of what caused the failure:
Failed part
Cause
Possibly due to improper hub size selection
Improper size selection coupled with overload
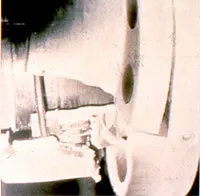
Internal signs of failure must be investigated when the equipment simply stops running and there is no external evidence.
Failed part
Cause
A final step: balancing
If the coupling is used in high-speed or precision applications, an additional step might be required: checking the coupling balance. Couplings are normally balanced at the factory prior to being shipped, but they occasionally go out of balance in operation. At high speeds, any coupling imbalance will result in severe vibration and the possible failure of both the coupling and the bearings.
Balancing can be difficult and expensive, and is normally done only when operating tolerances are such that the effort and the expense are justified. The amount of coupling unbalance that can be tolerated by any system is dictated by the characteristics of the specific connected machines and can be determined by detailed analysis or experience. The following steps explain the intricate process of balancing a coupling. This is not intended to be a detailed balancing procedure, but rather an overview and a guide to balancing requirements. When in doubt, call a professional to do the balancing.
Step one: While all couplings are designed 100% in balance, some degree of imbalance occurs during manufacturing. For example, due to the casting process, cast metal parts are inherently imbalanced to some degree. When manufacturing imbalances stack up, they create a coupling’s inherent imbalance.
Standards for inherent imbalance have been developed by the American Gear Manufacturers Association (AGMA), ISO and the American Petroleum Institute (API).
The balancing process compensates for a coupling’s inherent imbalance. Typical procedures consist of ensuring that bores and cylindrical surfaces are concentric with the center of the coupling. Hub faces should be aligned perpendicularly to the coupling centerline, and bolt circles should be positioned accurately. Pilot fits may be included to ensure proper component positioning upon assembly. Bolts and boltholes should be fitted tightly. Also, individual hardware may be weight-balanced and keys and keyways compensated for precise weight tolerances.
Step two: Fine-tuning a precision-manufactured coupling can improve its balance by five to 20%. This process may include both static and dynamic balancing on a balance machine.
Static balance involves rotating the coupling in a balance machine at a consistent speed so that the part rotates down to the heavy side. Weights are then added to compensate for the imbalance. A more sophisticated method is to dynamically balance the coupling by mounting it on a turntable that can measure coupling wobble and calculate how much and where weight should be added to compensate.
Step three: Once the components are balanced, the high sides’ imbalance should be marked so that the coupling can be assembled with the high sides opposed to one another. By doing this, the coupling will fall closer into the balance specification as required by the system/manufacturer. When the coupling is assembled, a final check balance may be performed. When the check balance is completed, the components are match-marked to ensure that they are reassembled in the identical positions following any disassembly. This is called an assembly balance. Once this balance is complete, no coupling component should be replaced unless the whole assembly is rebalanced.
Bob Boyle is the director of power transmission products for Applied Industrial Technologies.

